Content templates
This section describes how Quickwork's Content Templates facilitate the creation of consistent, dynamic content for automated Journeys, using Markdown and HTML for personalized communications.
Content templates provide a structured way to create and use consistent content in your Journeys, seamlessly integrating with Logic-less Mustache templates. They allow you to standardize and define content, including dynamic elements filled through data bindings.
By creating a template, you can design complex messages, emails, or any reusable content across different parts of your Journeys. Using Markdown and HTML, you can format text with headings, lists, emphasis, and other styles, enhancing the presentation and readability. This ensures consistent communication and simplifies the process of updating content across multiple Journeys without editing each instance individually.
Consider a scenario where an e-commerce business aims to automate the process of sending personalized thank-you emails to customers after they submit feedback. Using Quickwork's Content Templates, the business can efficiently create a dynamic email template that incorporates customer-specific data like name, email pulled directly from feedback forms submitted via Typeform. This automation ensures that every customer receives a tailored thank-you note from the company sales head, enhancing customer engagement and satisfaction while streamlining response management.
✅ Pre-requisites
- Basic understanding of Quickwork terminologies and familiarity with Quickwork's GUI.
- Experience in creating, executing, and managing a Journey effectively from start to end.
- If you want to try out this specific use case, you need an:
- An active Typeform account with a published Typeform designed to collect customer feedback.
- A Gmail or Gmail Secondary account to receive the feedback notifications.
Creating a template
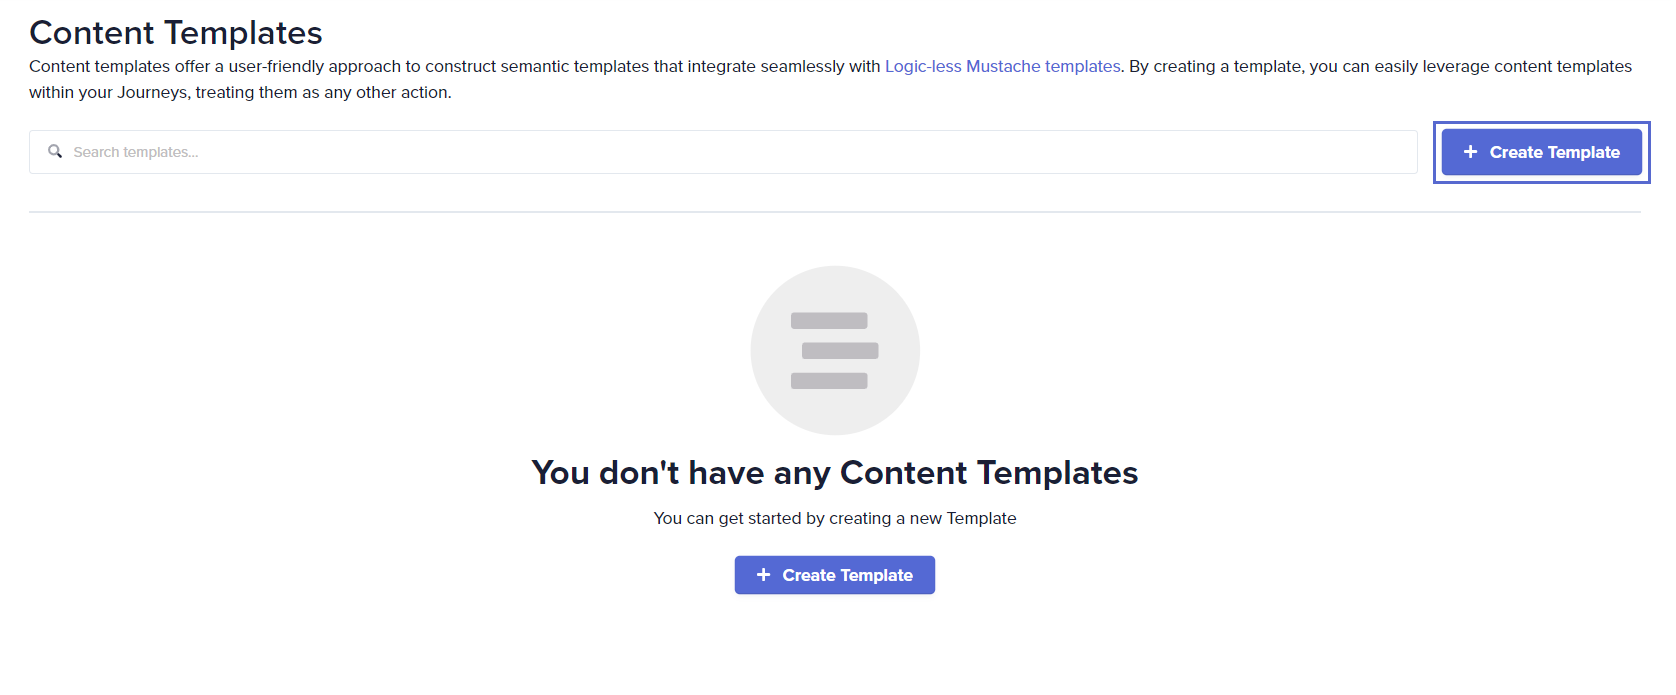
- Log in to your Quickwork account and navigate to Tools. Then select Content Templates.
- Click on + Create Template.
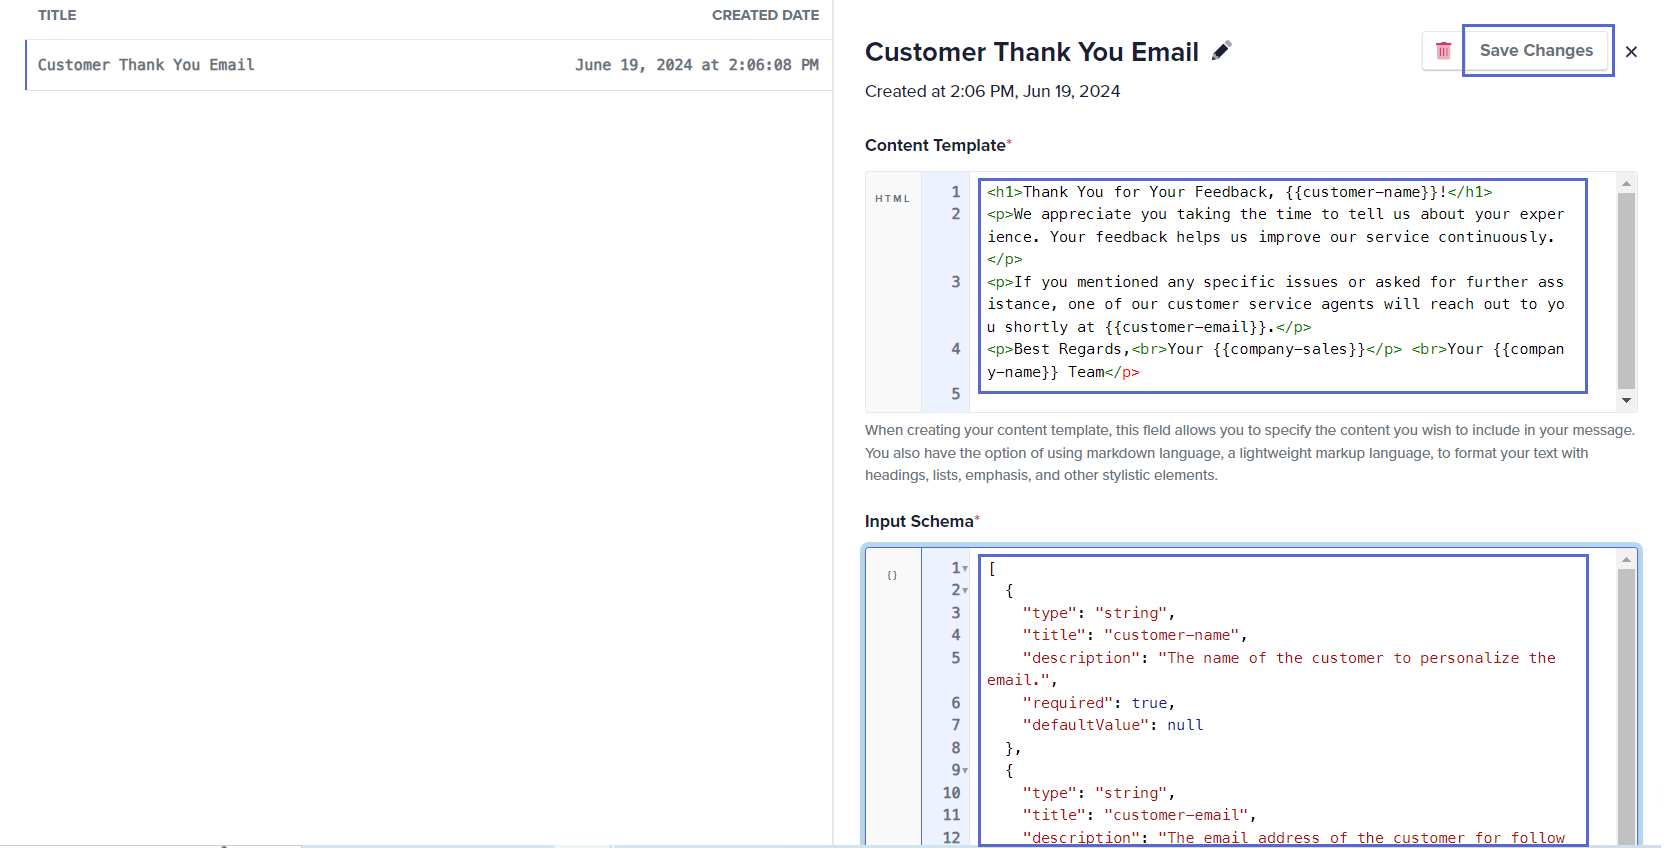
- Enter the Template Name, Customer Thank You Email and click on Submit.
- Select the row titled Customer Thank You Email to access and modify the template.

- To proceed, fill in the Content Template field: The Content Template is where you specify the structure and content of your message, incorporating dynamic placeholders like {{customer-name}} and {{customer-email}} for personalized communication.
<h1>Thank You for Your Feedback, {{customer_name}}!</h1>
<p>We appreciate your effort in sharing your experience. Your insights help us enhance our services continually.</p>
<p>Should you have raised any particular concerns or requested further support, one of our team members will contact you soon at {{customer_email}}.</p>
<p>Best Regards,<br/>Your {{company_name}} Team</p>- Fill in the Input Schema field: The Input Schema is structured definition of the fields that allows you to easily specify the inputs your Journey requires, facilitating the substitution of actual content within your content template. Define the dynamic content that will be replaced based on the trigger data. Specify fields such as customer_name, customer_email, company-sales, company_name and other details which are required for personalizing the email.
[
  {
    "type": "string",
    "title": "customer-name",
    "description": "The name of the customer to personalize the email.",
    "required": true,
    "defaultValue": null
  },
  {
    "type": "string",
    "title": "customer-email",
    "description": "The email address of the customer for follow-up.",
    "required": true,
    "defaultValue": null
  },
  {
    "type": "string",
    "title": "company-sales",
    "description": "The name of your company sales head to personalize the email.",
    "required": true,
    "defaultValue": null
  },
  {
    "type": "string",
    "title": "company-name",
    "description": "The name of your company to personalize the email.",
    "required": true,
    "defaultValue": null
  }
]
- Click on Save Changes to save the template.
Sample use case: Automated customer feedback response
-
Set up the trigger:
- Start by choosing Typeform - New Form Response if you are collecting customer feedback through Typeform.
- Select the Form.
-
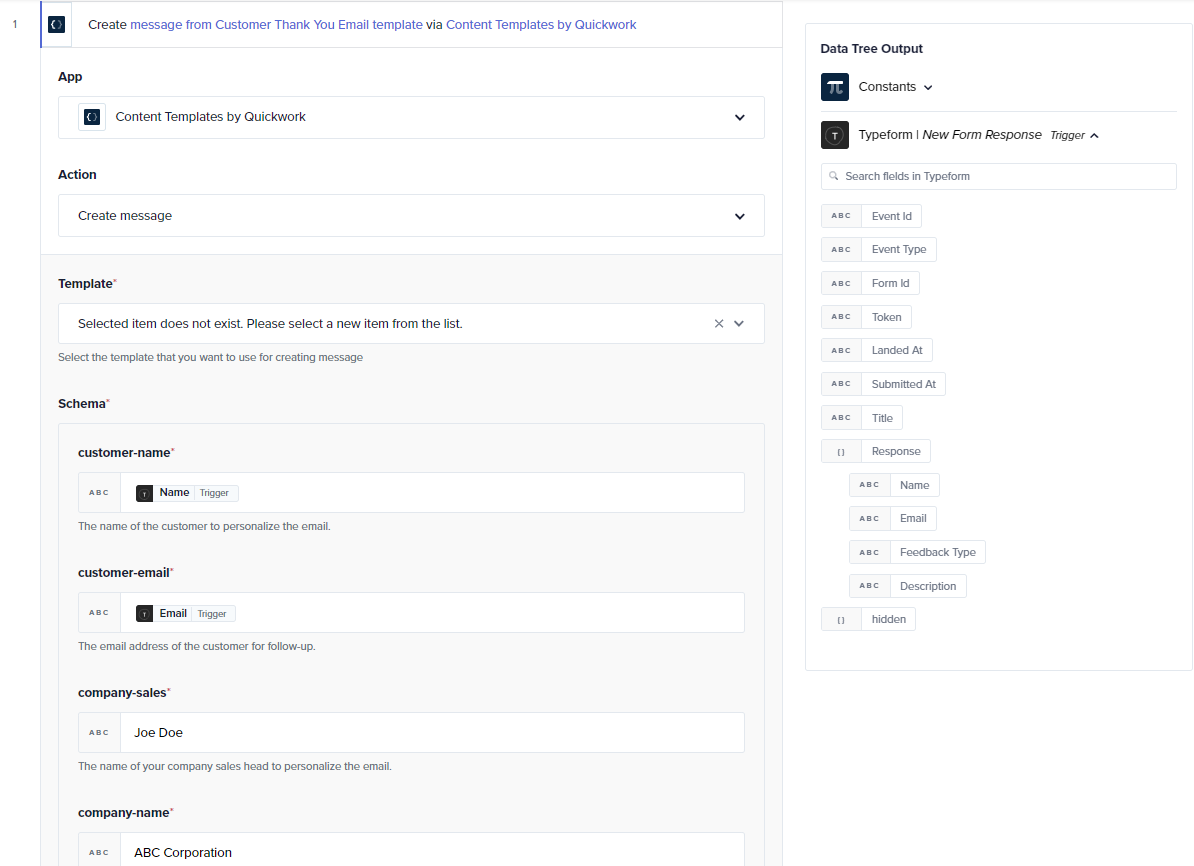
Implement the action to utilize the template:
- Select the Content Templates by Quickwork app and choose the Create message action.
- Select the Template, Customer Thank You Email.
- Ensure that the Schema like customer-name, customer-email, and company-sales (from Input Schema in Content Templates) are correctly mapped from the Typeform trigger in the Data Tree Output.
-
Set up email dispatch:
-
Select Gmail Secondary or any other email app configured to send the email.
-
The Email data pill from the trigger Typeform serves as the To recipient's address.
-
The Text data pill from Content Templates by Quickwork in the Data Tree Output forms the Message of the email.
-
-
Activate and test the Journey:
- After completing the setup, activate the Journey by clicking on Save & Start.
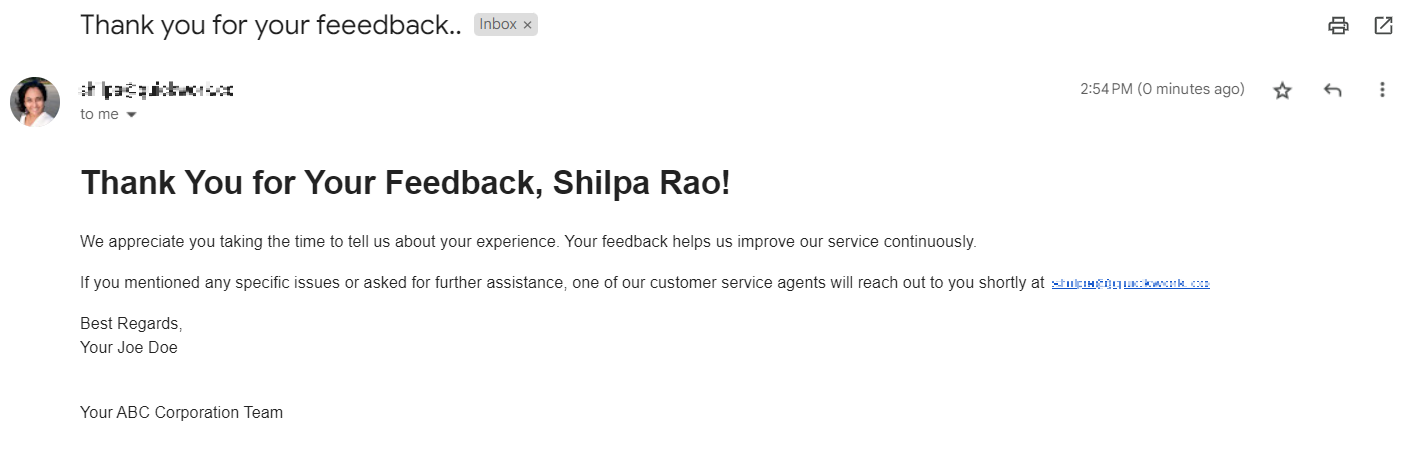
- Test the configuration by submitting feedback through the provided Typeform link.
- Verify the implementation by checking your Gmail inbox for the email generated from the content template.
This structured approach not only streamlines the process of sending automated responses but also ensures consistency and personalization in customer interactions, leveraging the powerful capabilities of Quickwork’s Content Templates.
❓ Troubleshooting
- Data not populating: Verify that all dynamic fields in the Schema are correctly mapped from the trigger. Incorrect mappings can result in empty placeholders in the sent emails.
- Emails not getting sent: Ensure that the email address collected from the trigger is valid and properly formatted.
✏️ Tips and recommendations
- Keep the content template and the input schema updated with any changes in the Typeform or the business logic to maintain the relevance and accuracy of the communication.
- Regularly check the Journey execution logs in Quickwork to monitor for any failures or errors, and adjust the configurations as needed.