Journey configuration manager
This section will help you navigate Quickwork's Journey configuration manager, where you can configure triggers and actions, run a journey, check journey history, switch app connections, share and control journeys, including cloning, deleting, and starting/stopping them.
Before building your Journey, it's important to understand the components within the Journey configuration manager that are required to build the Journey.
✅ Prerequisites
- Access to Quickwork platform.
- Basic understanding of Quickwork terminologies and familiarity with the platform's GUI.
Accessing Journey configuration manager
-
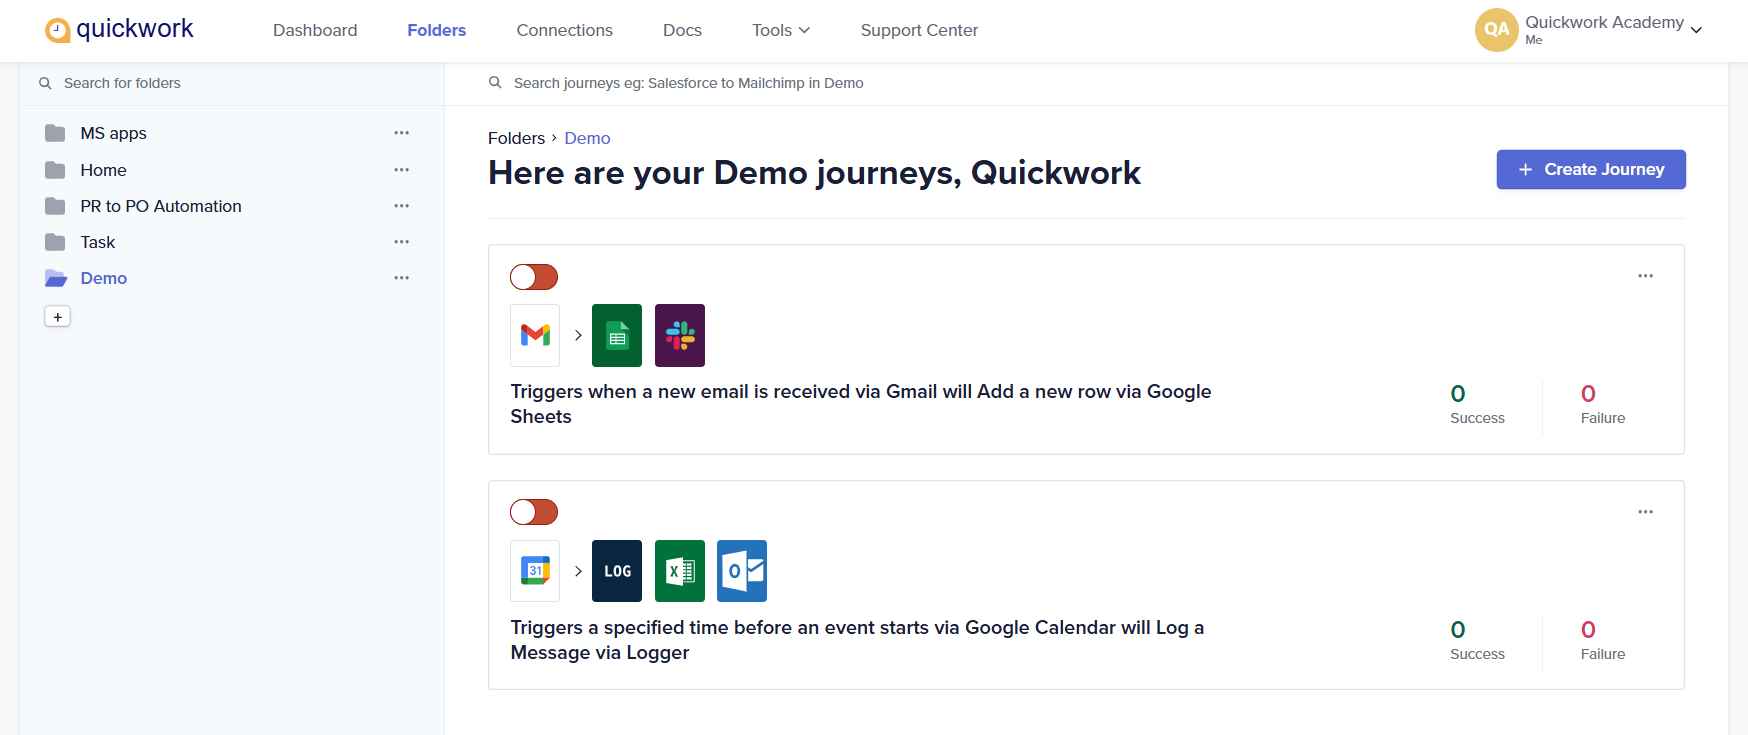
To access the Journey configuration manager, go to the desired folder in the Folders panel of the Folders page. In this case, the Demo folder.
-
Click the + Create Journey button to open the Journey configuration manager.
-
The Journey configuration manager will appear. Here, you can view the different components needed to build the Journey.
Functionalities in the Journey configuration manager
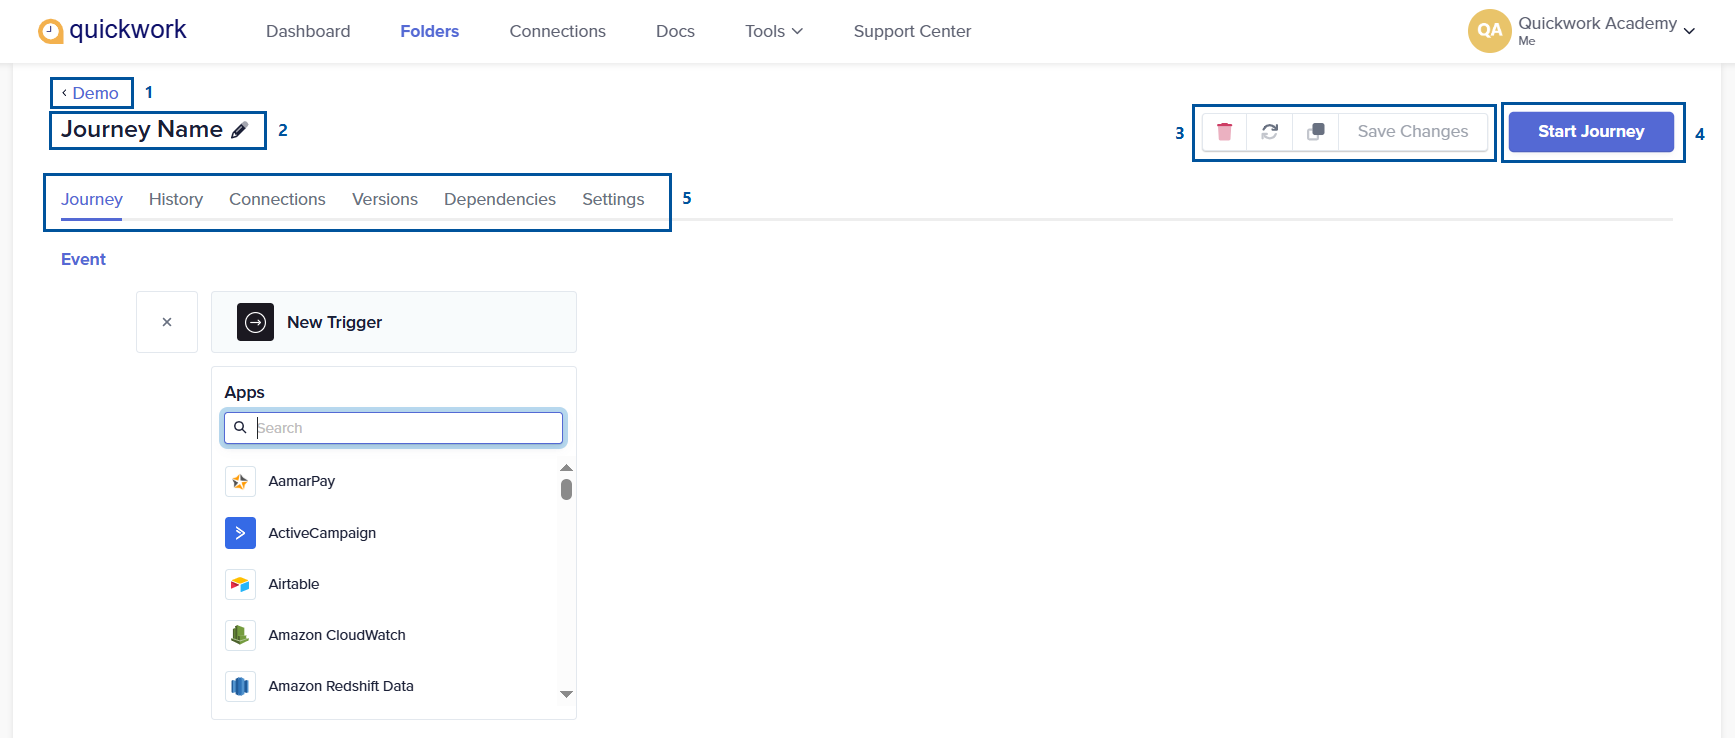
- Navigating back to the Folders page: Click on the Demo link to return you to the Folders page with that folder and its associated Journeys open.
- Renaming a Journey: The Journey is labeled as Journey Name by default. Click the edit icon and enter a new name.
If you don't assign a name to the Journey, Quickwork automatically generates one for you based on a predefined template when you save your changes. This auto-generated name includes the names of the apps used in the trigger and actions. For example, a Journey that triggers when an event is scheduled via Scheduler by Quickwork will Send a new message via WhatsApp by Gupshup will be named accordingly.
- Save and manage controls :
- Delete button: Deletes the Journey. Note that once a Journey is deleted, it cannot be recovered.
- Refresh button: Refreshes all the input fields within the Journey and ensures that the fields reflect the most current information.
- Clone button: Creates a duplicate of the Journey. However, app connections need to be reestablished.
- Save Changes button: Saves all configured data within the Journey.
Refresh refers to the action of updating or reloading of data pills/input fields to ensure that it reflects the most current information. For instance, if a database schema has been updated with new columns, clicking on the Refresh button ensures that the data pills/input fields are updated. Or if an input field in a previous step is updated, clicking on Refresh, ensures that the current field reflects these updates.
- Starting and stopping a Journey:
- Click the Save button to save, check the Journey for errors and start execution.
- You will be redirected automatically to the History tab.
- Changes cannot be made while the Journey is executing. To make alterations, stop its execution by clicking on Stop Journey.
- Exploring the Journey navigation tabs:
- The Journey navigation tabs include the Journey, History, Connections, Versions, Dependencies, and Settings tabs that display the Journey data during its execution.
- Here, you can view the history, connection details, version, resource dependencies, share, and optimize the Journey performance.
❓ Troubleshooting
- Incomplete input field entries can prevent a Journey from starting. Ensure all required fields (marked as *) are filled correctly.
- If you encounter errors during Journey execution, click the History tab to review the configurations for missed inputs or mismatches in trigger and action setups.
📚 Additional resources
Journeys: Automation across apps
Triggers to initiate Journeys
Configuring actions
Establishing connections
Utilizing data pills
Building your first Journey