Managing client access
This section explains the process for creating a client and configuring an access profile within Quickwork's API Management tool, which is essential for generating and managing API keys.
A client is a user for whom you want to create an API endpoint. The client allows you to create an access profile that includes a set of API collections and an API key for executing endpoints within those collections. A single client can have access to one or more API collections.
For a client, multiple access profiles may be assigned based on the specific collections you want to grant access to. Each access profile has a unique API key and a set of one or more API collections that it can access.
✅ Prerequisites
- Basic knowledge of API management and terminologies within Quickwork.
- A completed Callable Journey set up in Quickwork.
- An existing API collection within which the client will operate.
- Basic understanding of using API testing platforms like Postman.
Creating a client
- Log in to your Quickwork account, and go to Tools. Then select API Management.
- Click on the Clients tab and press the + Create new Client button. If you don’t have any clients, click on Get Started by creating a new client link.
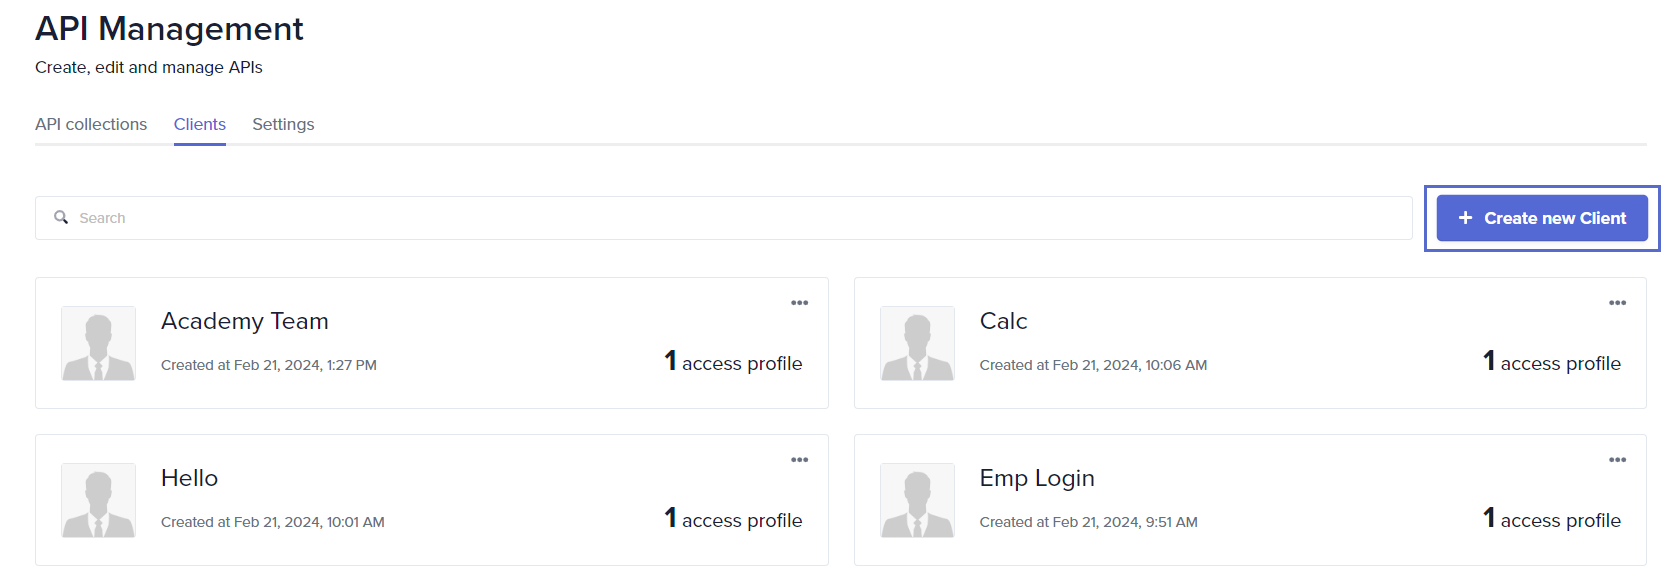
- Name the client to reflect the team or purpose it serves, such as Demo Team. This name helps in identifying the client within the API Management tool.
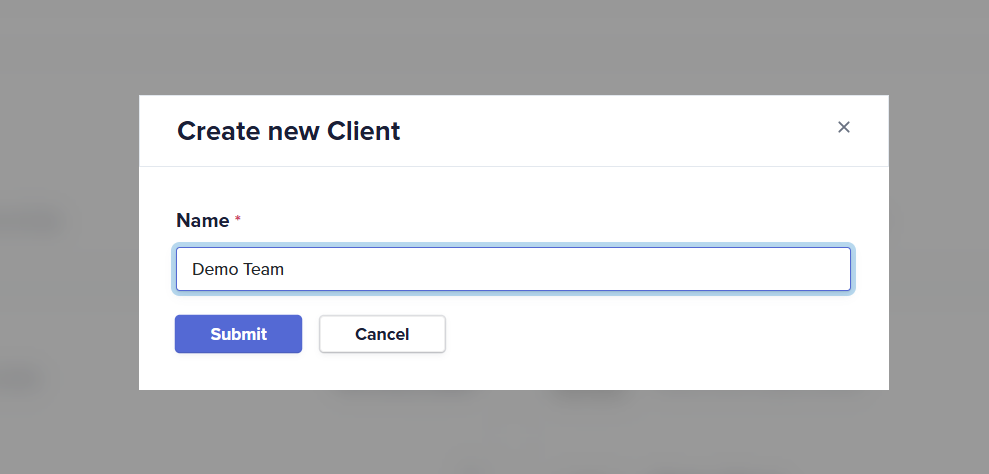
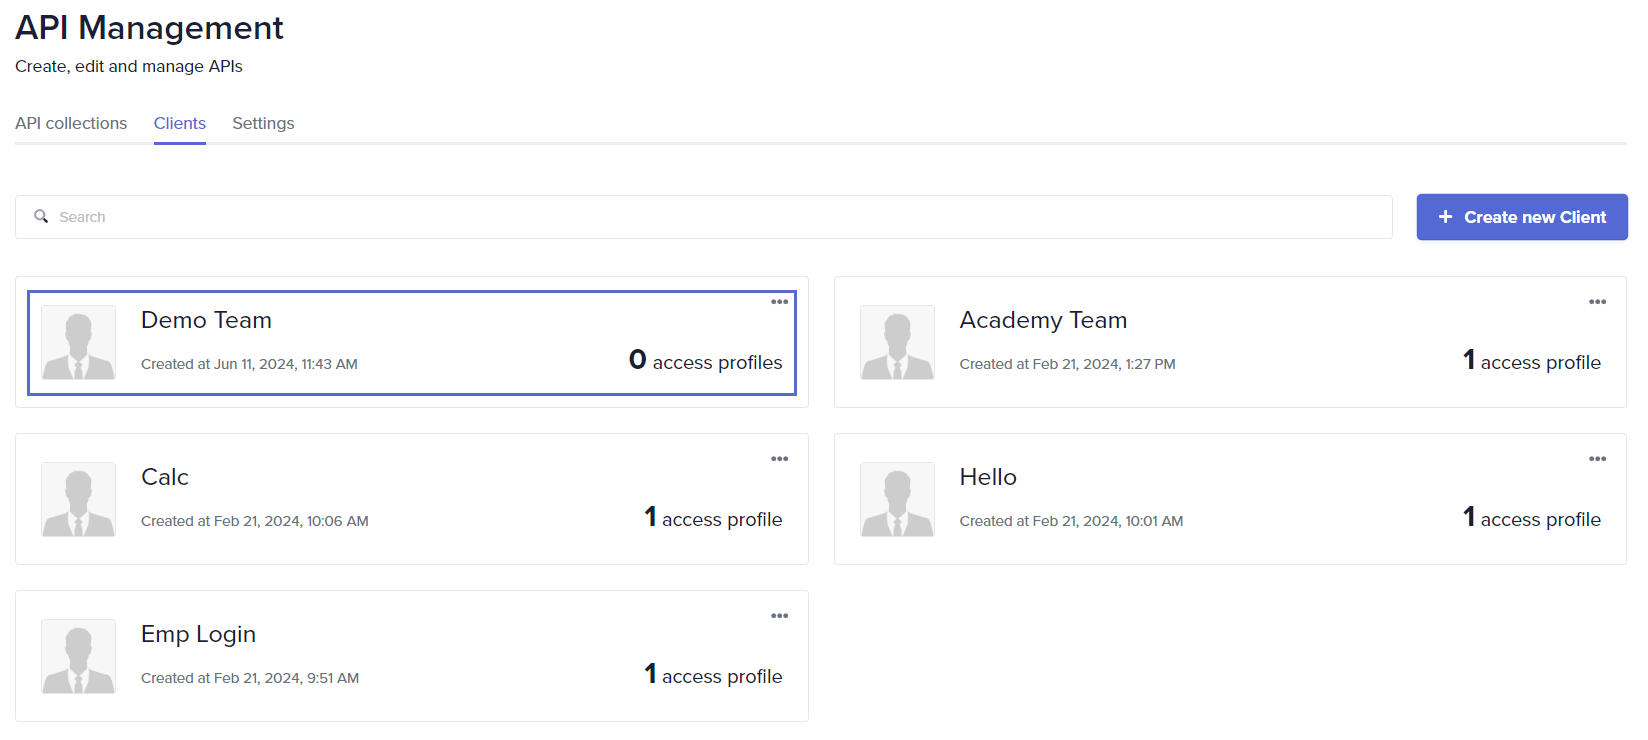
- Click Submit. Once created, the client can be edited or deleted as per your requirements.
Setting up the access profile
- Click on the client's name to view details.
- To create a new access profile, click the + Create new Access Profile button.

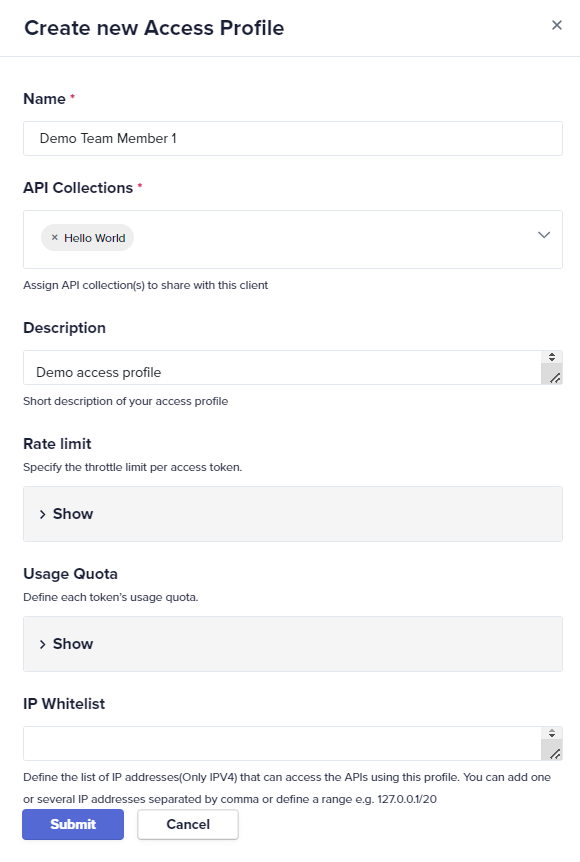
- In the setup window, enter a name for the access profile, Demo Team Member 1. This profile will determine the API access permissions for an individual or group within the client.
- Select the API Collections that this profile can access. If the user requires access to various APIs, multiple collections can be chosen.
- The advanced settings such as Rate Limit, Usage Quota, and IP Whitelist are optional. You can configure them now or later if you want to add additional security and control over API usage.
- Click Submit.
Generating the API key
Upon submission, an API key is generated. This key is crucial for authenticating API requests made by the client. Once created, the API key will be highlighted in the window. Ensure to copy the API key for future use.
This window also shows the usage limits for the API key and the endpoint usage details (no specific limits have been set for this access profile). It also lists the API collections that are accessible under this access profile.
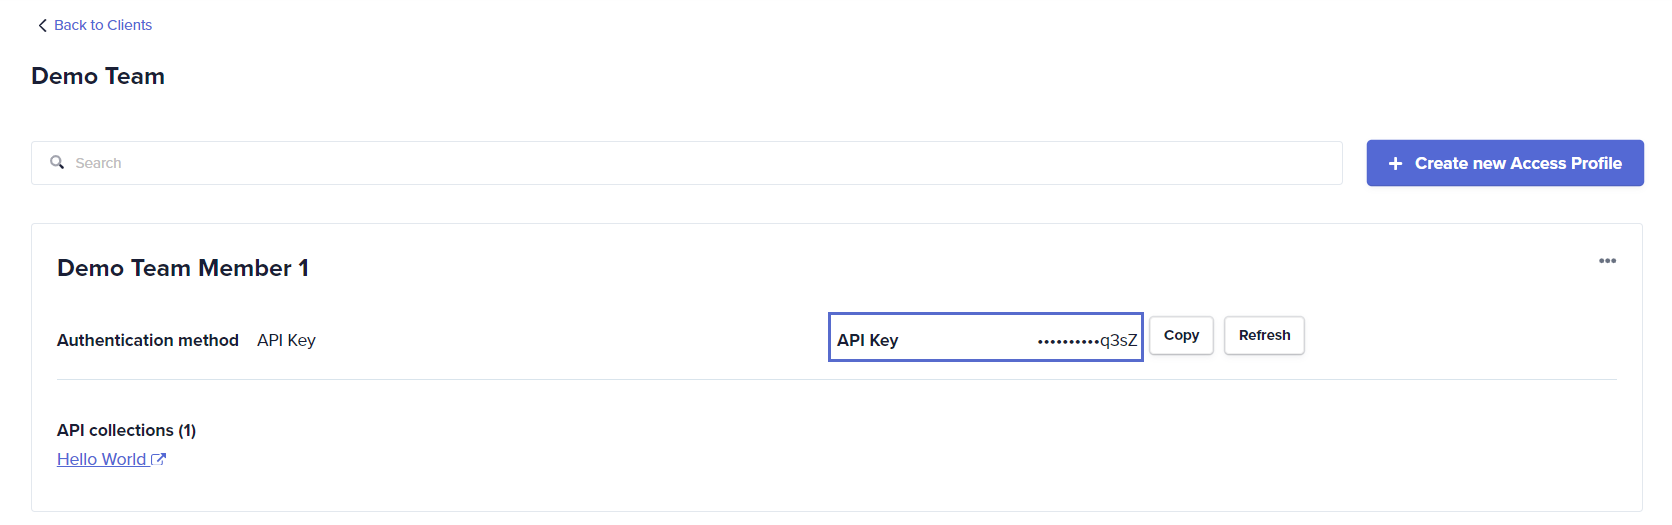
Document and secure the API key as it grants access to the APIs under the specified access profile.
- To test and validate, check: Test the API key using an API testing platform such as Postman.
✏️ Tips and recommendations
- Review client and access profiles periodically to ensure they align with your team's access needs and security policies.
- Treat API keys like passwords. Store them securely.
- Maintain detailed records of who can access which APIs and what limits are in place. This practice helps in auditing and troubleshooting access issues.
📚 Additional resources
API terminologies
Building a Callable Journey for API management
Creating and testing API endpoints
Testing and sharing the API
Sample use case on API management: HR operations
Securing API access with rate limits and quotas