Quick started guide
This guide walks you through the key steps to get started with Quickwork, from accessing your account to creating your first automated workflow (Journey).
Step 1: Accessing Quickwork
To begin using Quickwork, you need to have a valid account.
-
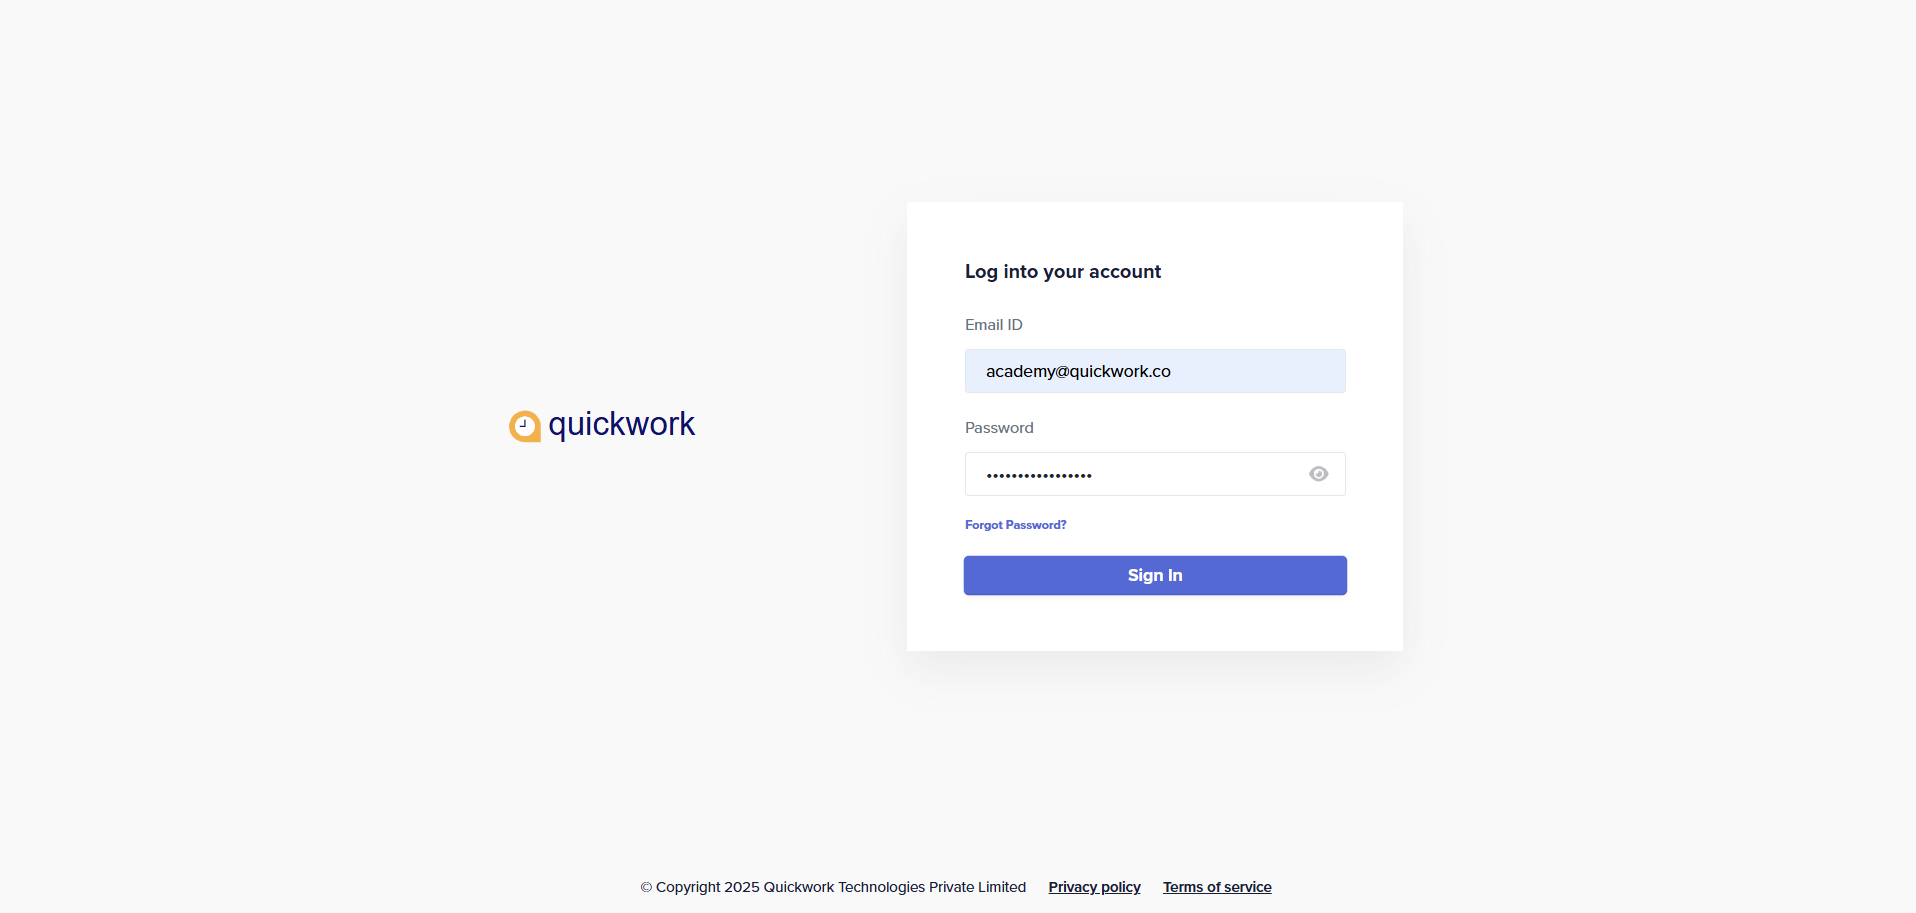
Go to the Quickwork login page.
-
Enter your Email ID, Password and click Sign In to access the platform.
-
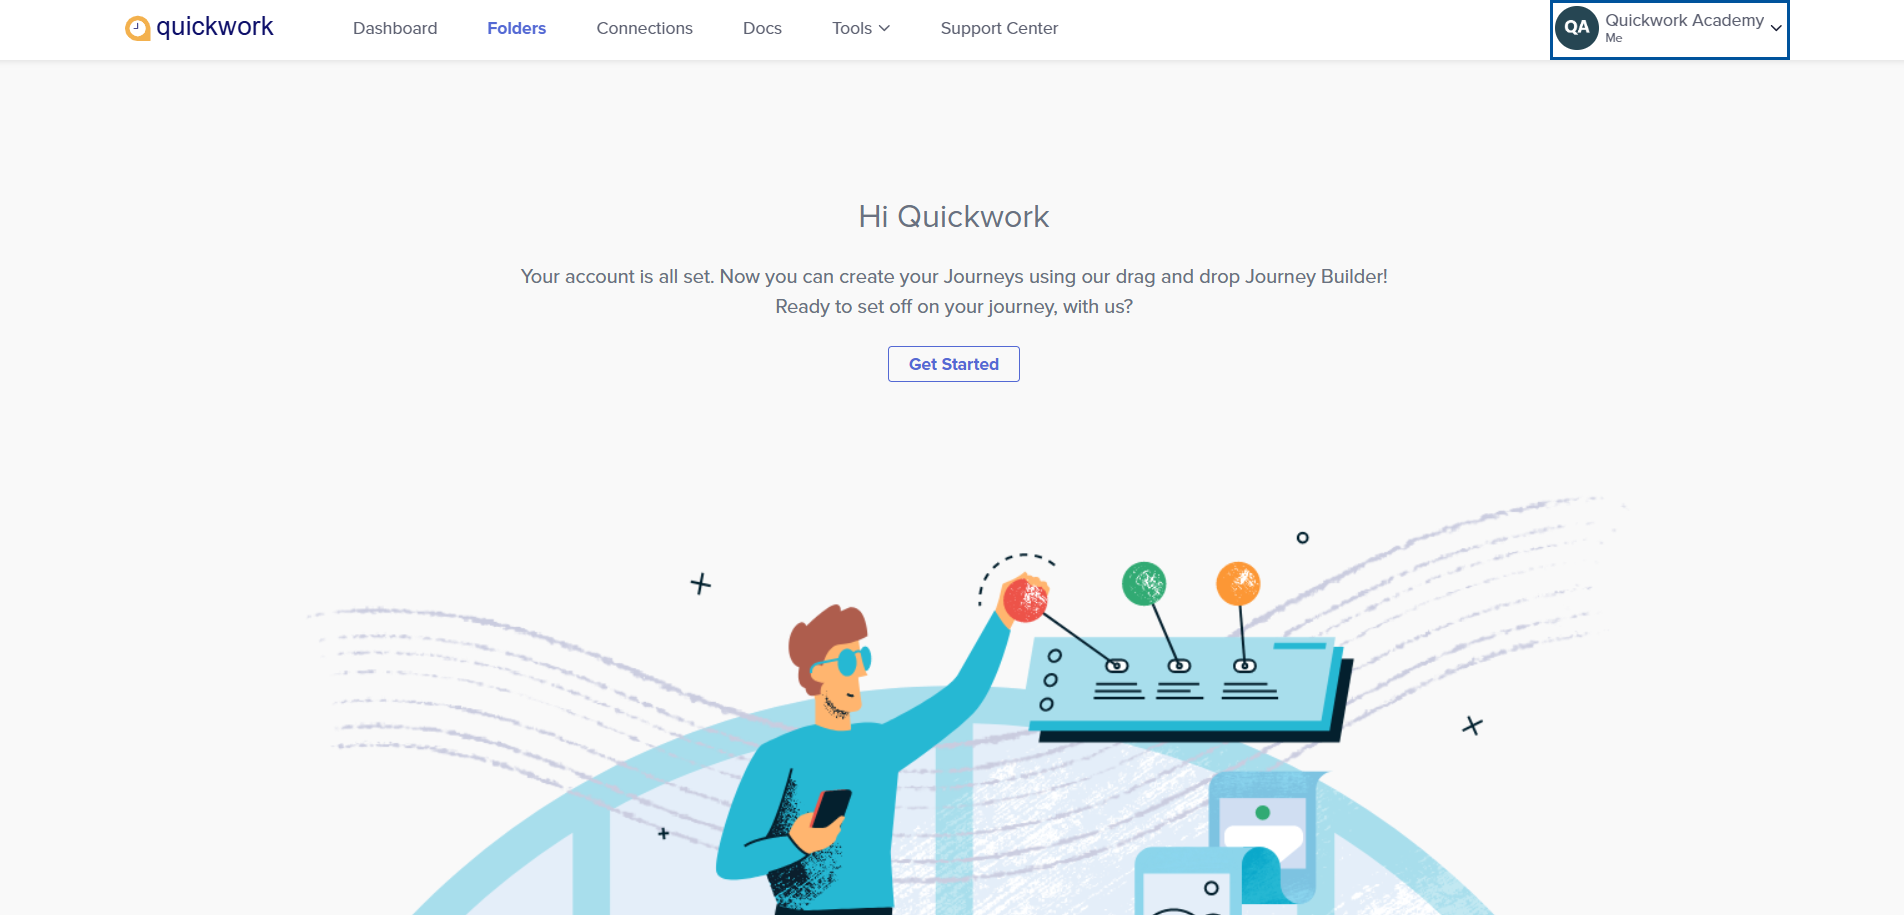
After successfully logging in, you are greeted with the Welcome screen. This page confirms that your account is set up and ready to use.
Step 2: Set up your account
Once logged in, you will want to configure your personal settings for a tailored experience.
Navigate to Account Settings under your User profile menu in the top-right corner to update personal details, enable 2FA, notifications, language preferences, subscription plans efficiently.
Step 3: Create your first Journey
A Journey consists of triggers and actions. Here’s how to create a simple Journey:
- Click on Get Started and enter the folder name, such as Demo and click Done.
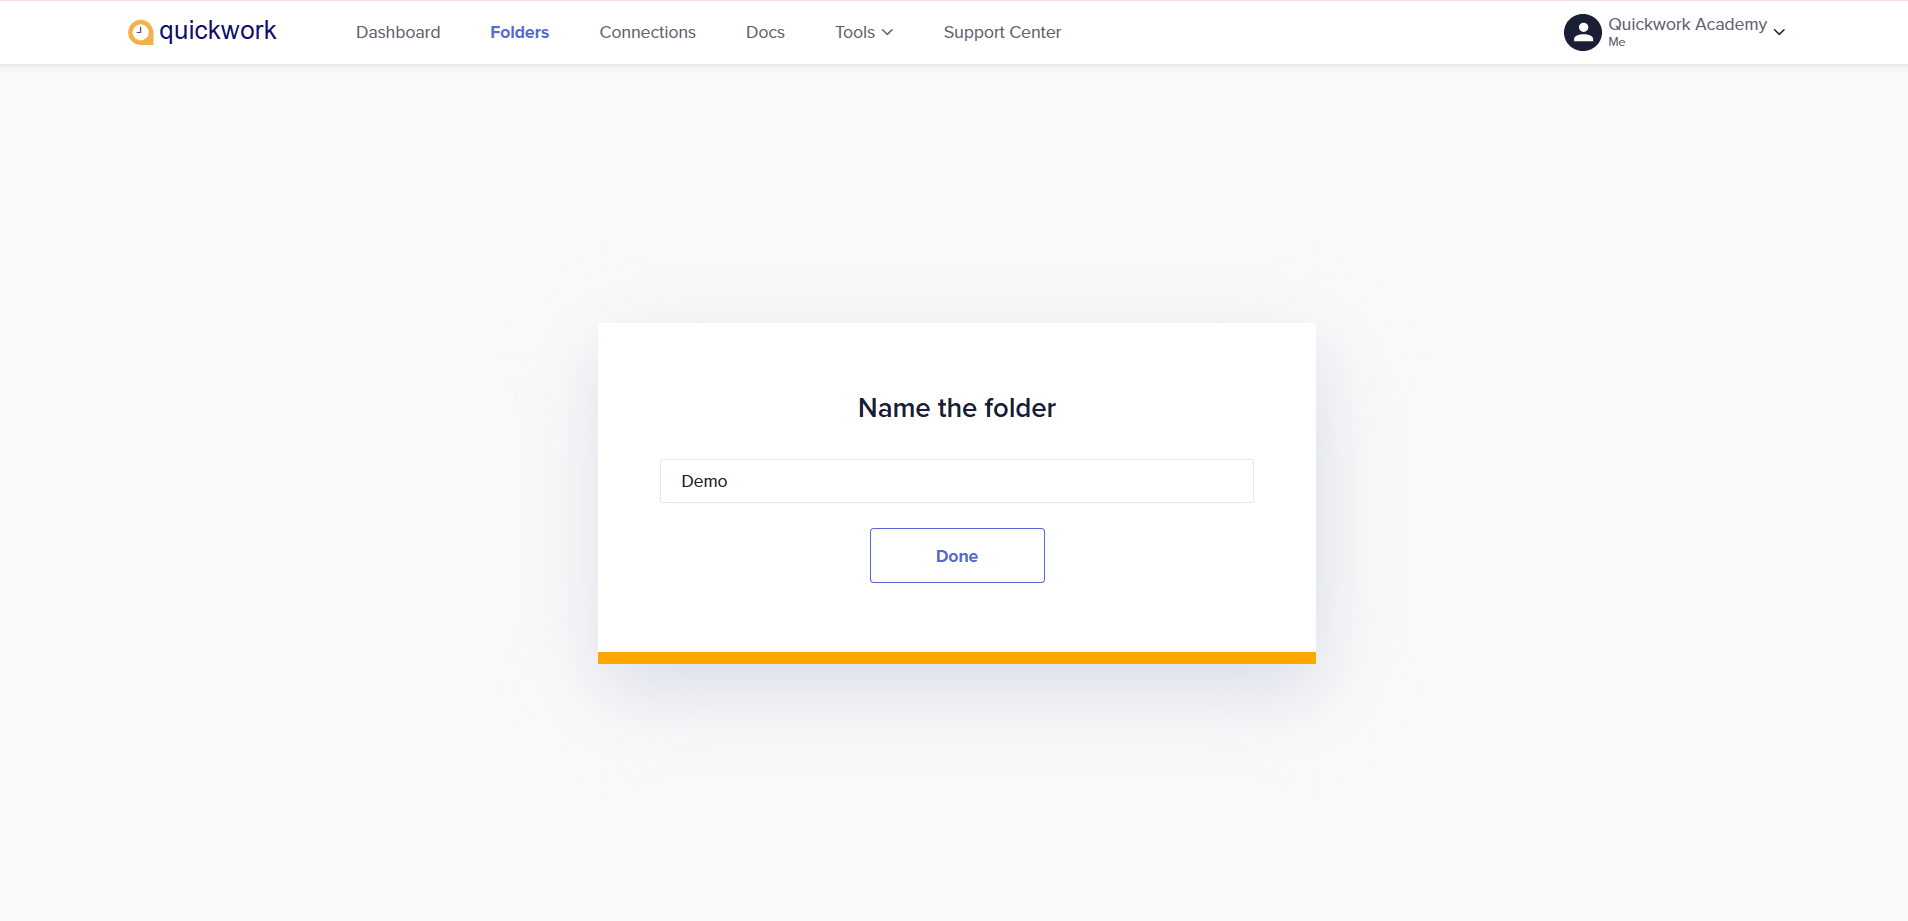
Your folder has been successfully created.
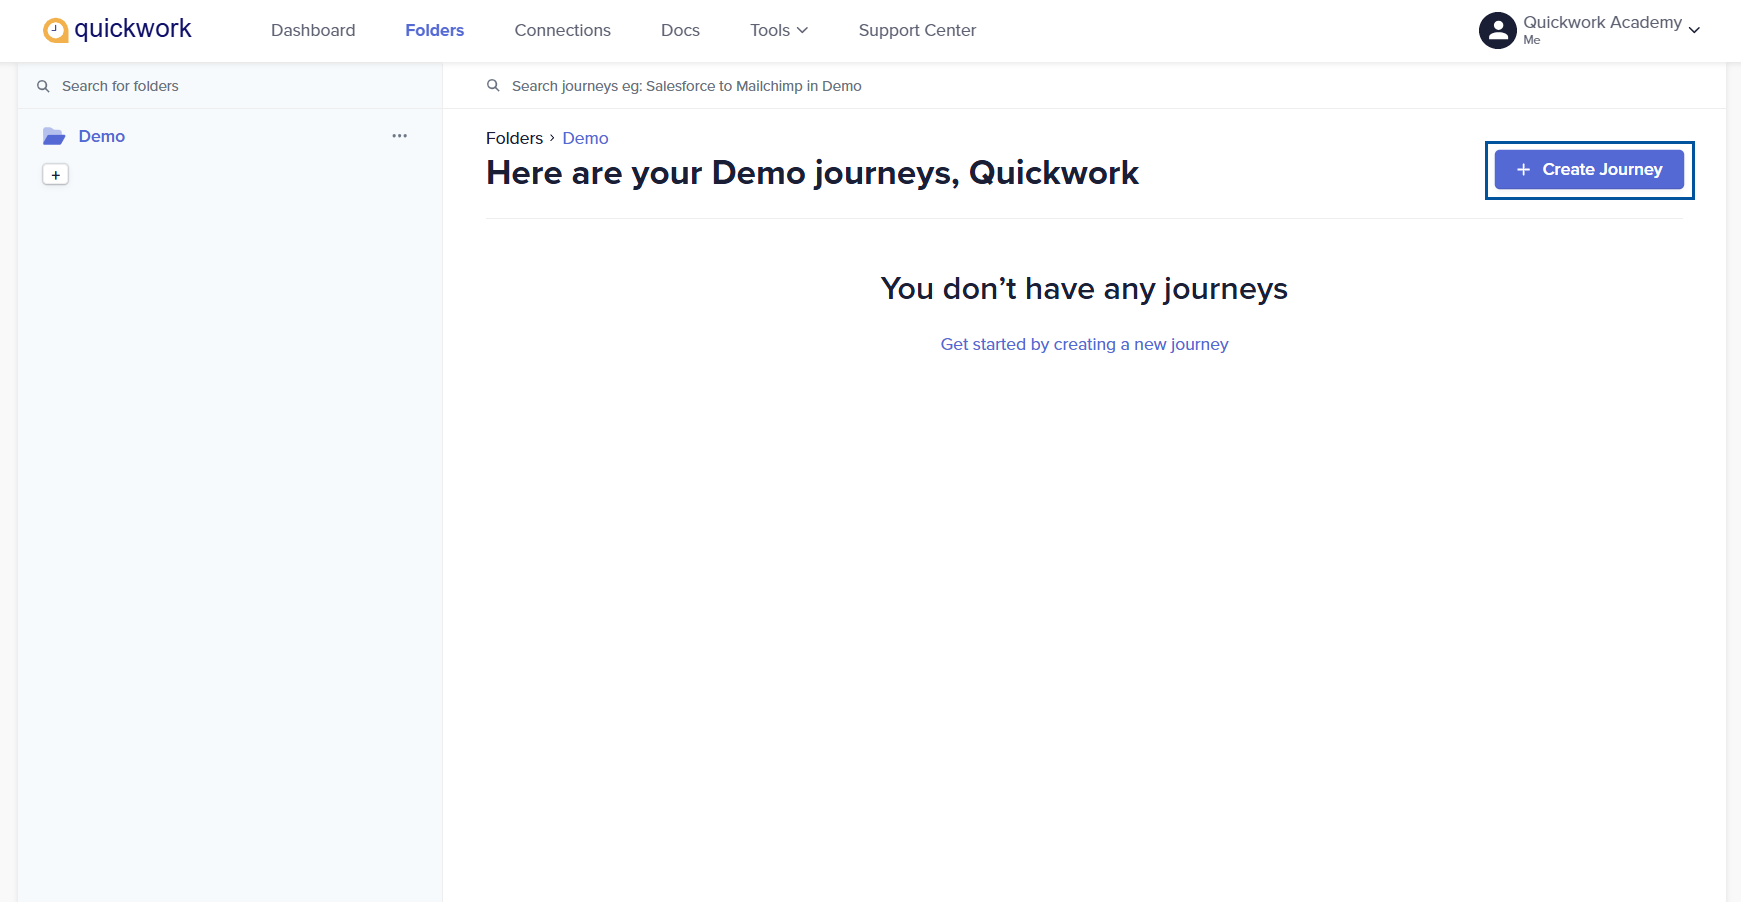
- In the Demo folder, no Journeys are available yet. To get started, click + Create Journey and begin building your first Journey.
- Overview: Consider a scenario, we are automating customer feedback processing into support tickets directly. The Journey will automatically create an issue in JIRA for every new feedback submission from Typeform. Here,
-
Trigger: A Typeform trigger with New Form Response trigger event is set up to detect new entries in the customer feedback form.
-
Action: For each new entry in Typeform, the Create Issue action will be triggered in JIRA, creating a ticket with all the necessary details from the form.
Pre-requisites: If you want to try out this specific use case, you need the following:
-
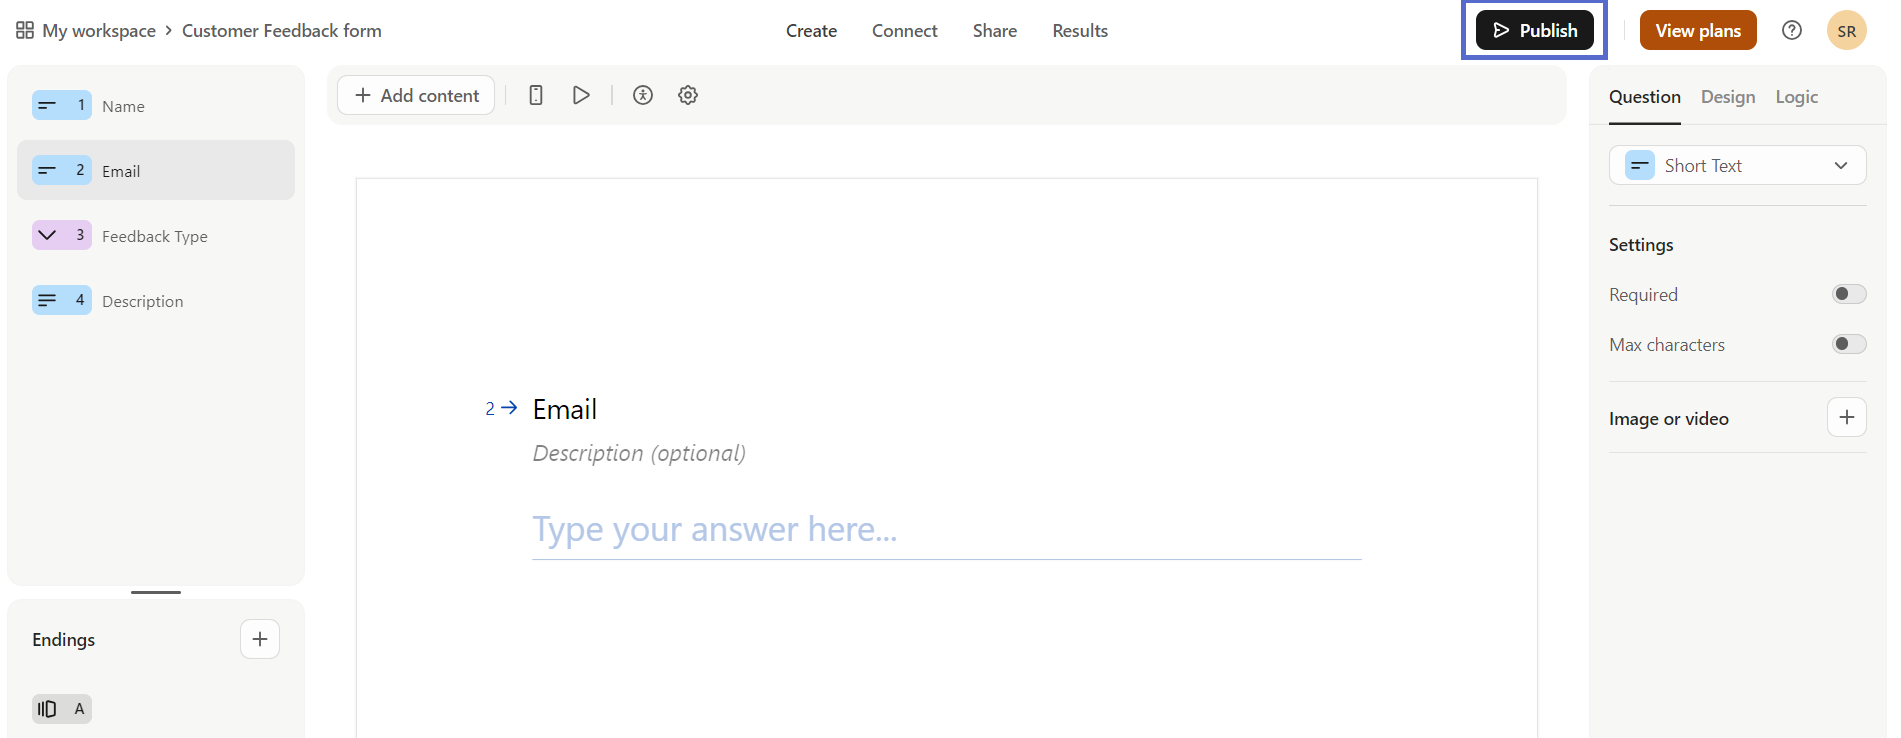
An active account in Typeform with a published feedback form (via Publish button) and its shareable link from the Share tab to be used for testing.
- An active account in JIRA, with the additional requirement of entering a site name for JIRA.
-
Steps to create the Journey:
-
Set up the trigger:
-
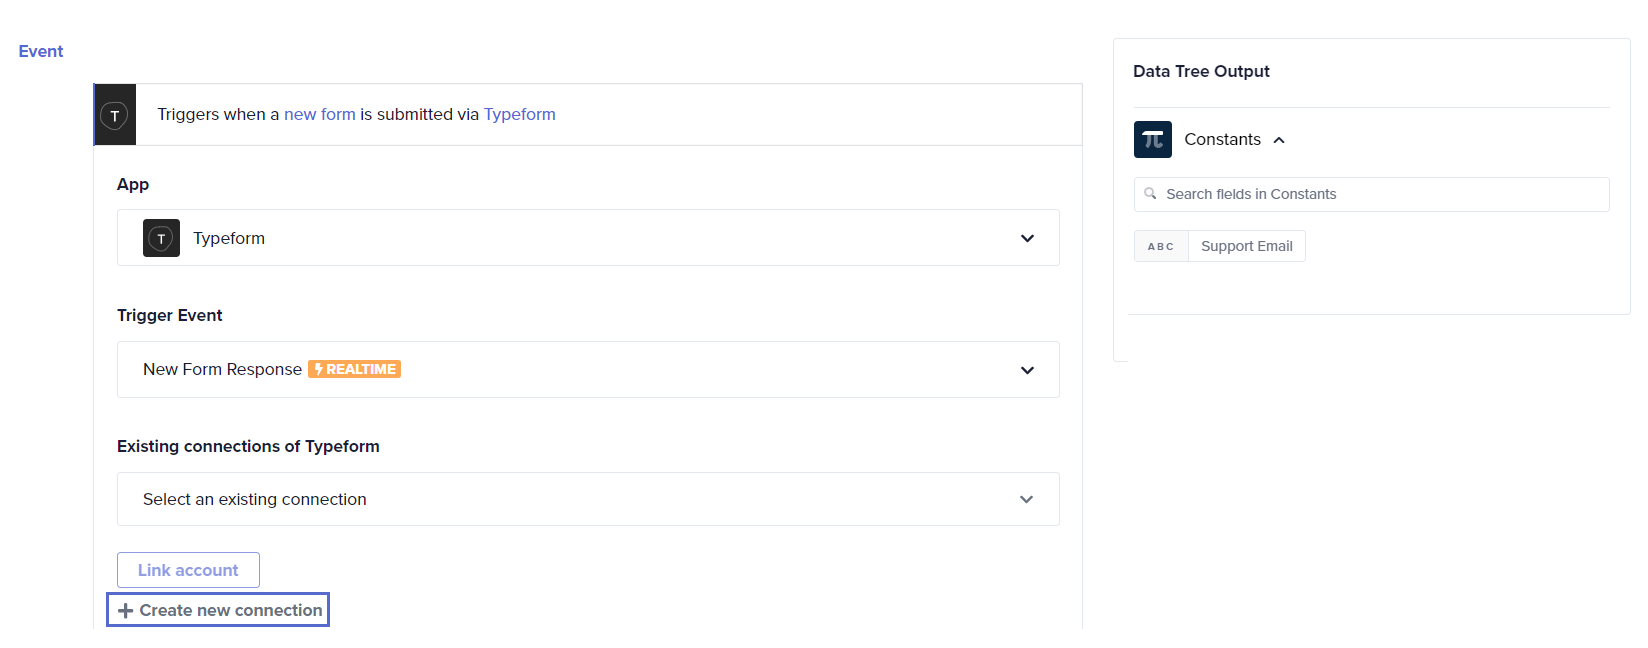
In the Event section, select Typeform from the Apps drop-down menu.
-
Choose New Form Response as the Trigger Event.
-
Link your Typeform account:
- If you have an existing connection, simply select it.
- If it’s a new connection, click + Create new connection.
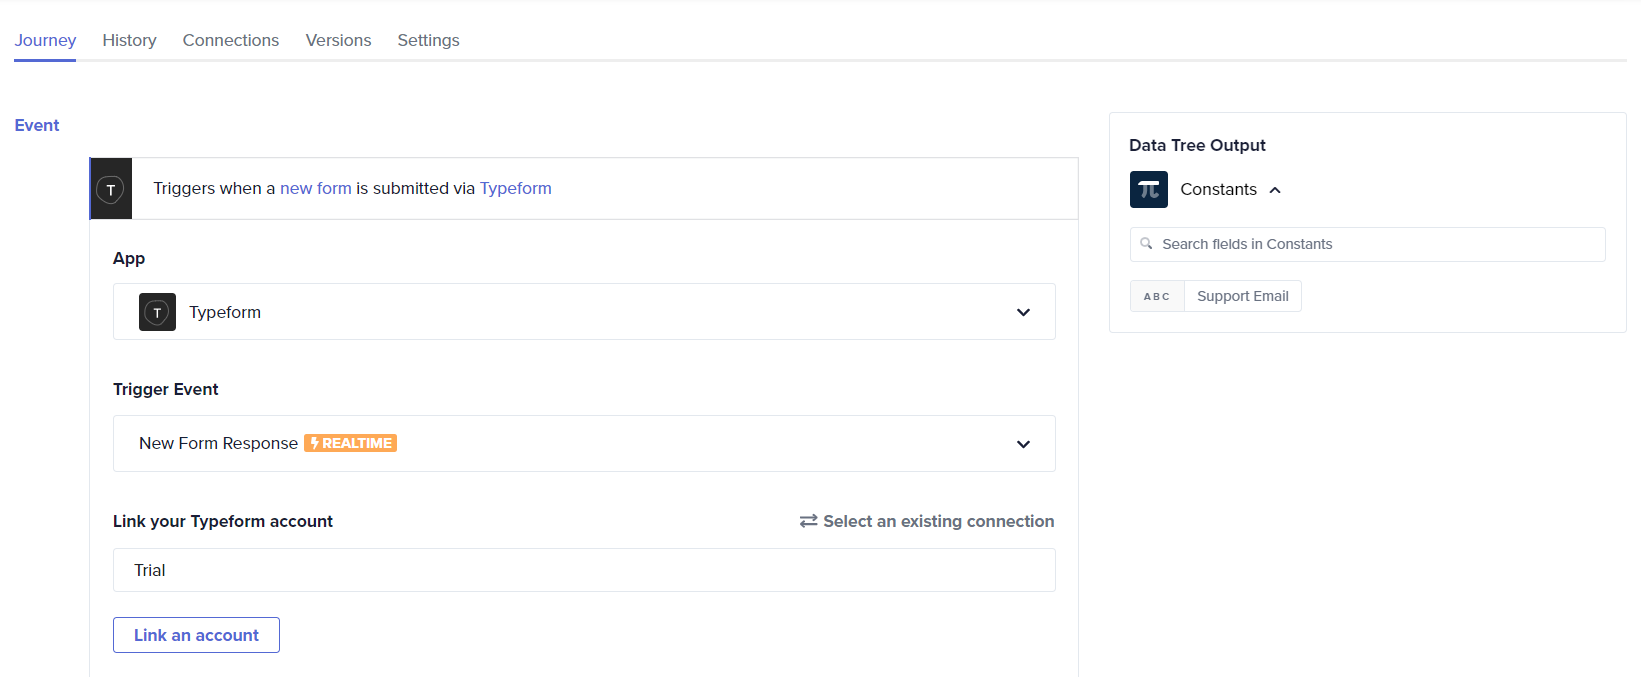
- Enter a relevant connection name and click the Link an account button. Follow the prompts to authorize the connection.
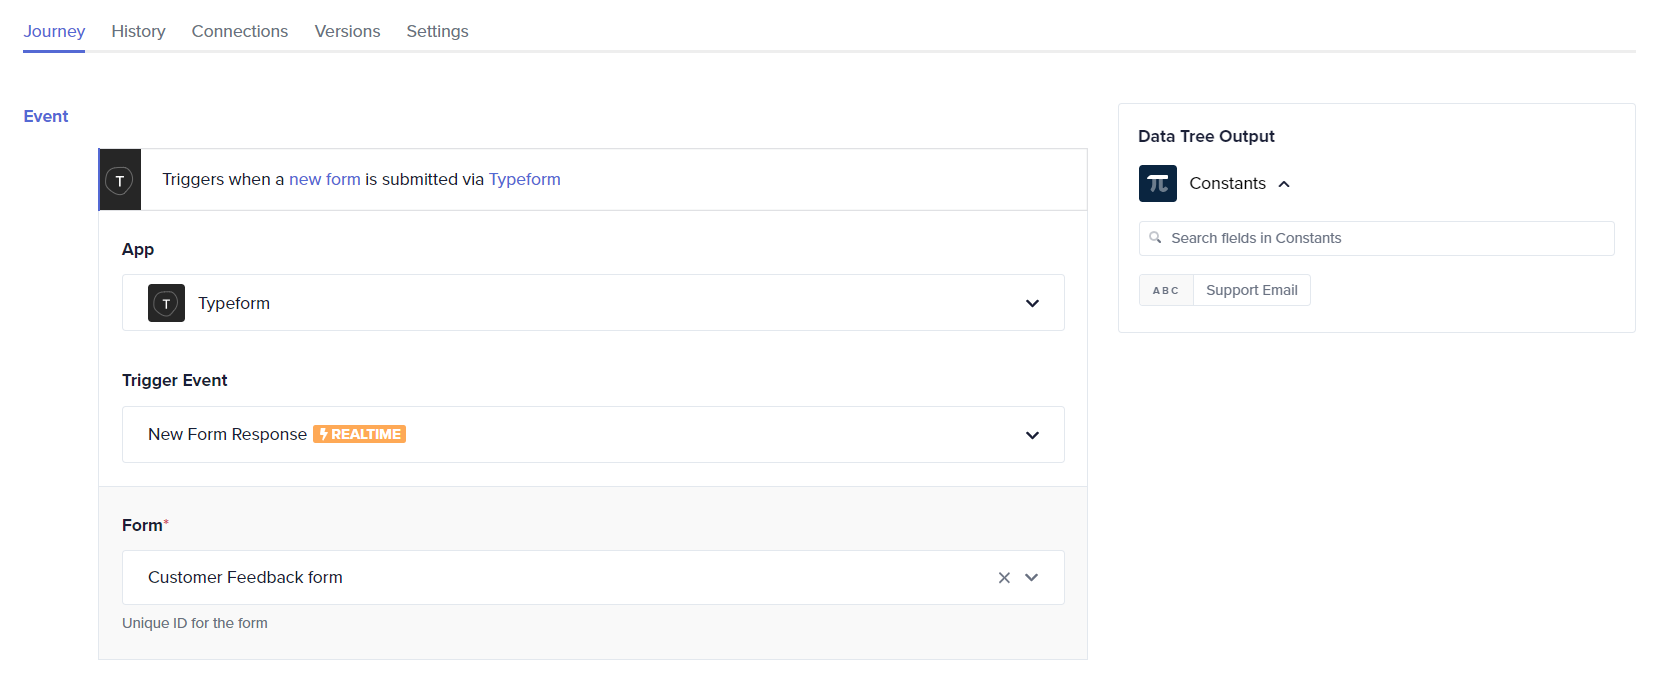
- Select the specific Form from which you want to gather feedback data.
-
-
Configure the action:
-
In the Steps section, click + and select JIRA as the Simple Action app.
-
Choose Create Issue from the available actions.
-
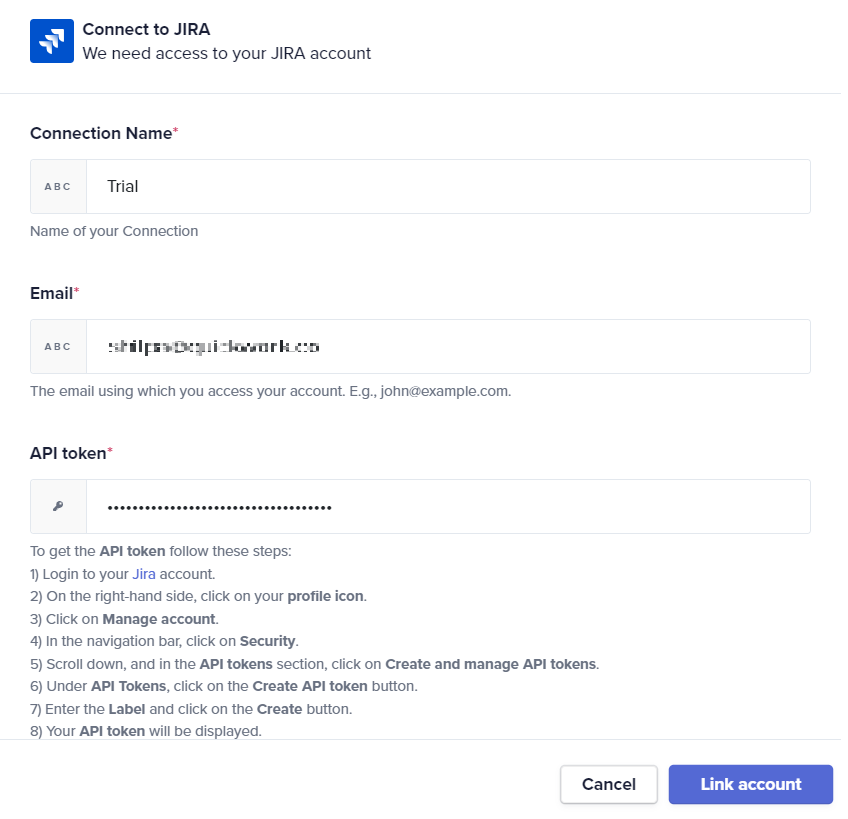
Link your JIRA account:
-
If you have an existing connection with JIRA, select it from the list.
-
If not, click + Create new connection, Link an account, and follow the instructions to link your JIRA account in the Connect to JIRA window.
-
-
-
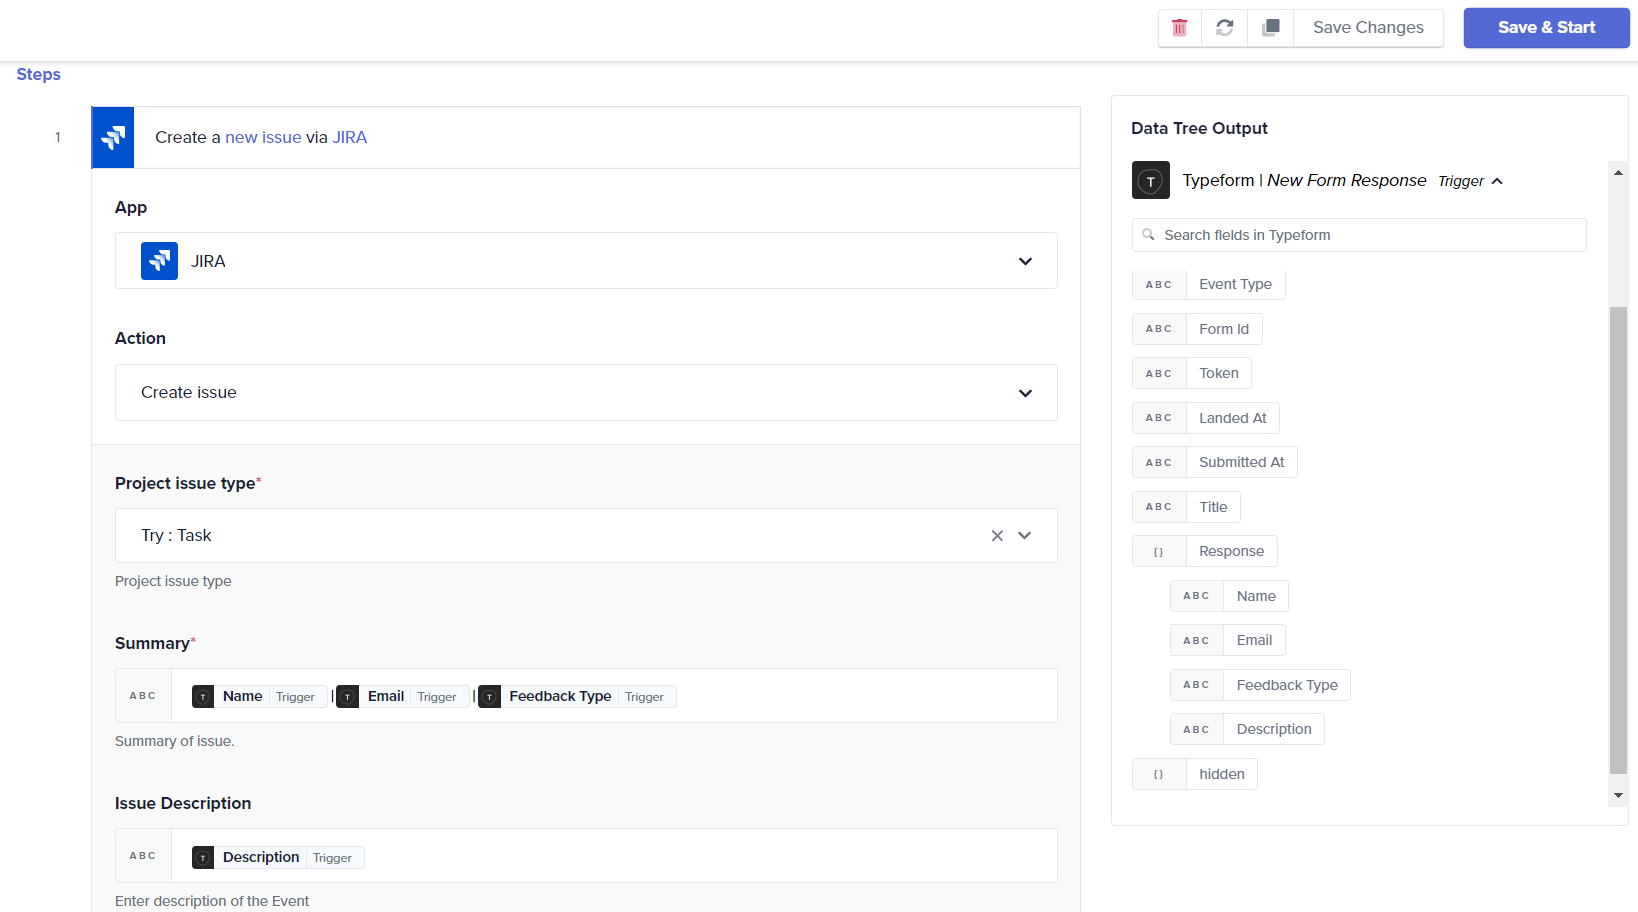
Enter mandatory fields. Select the Project issue type in JIRA where the feedback will be logged.
-
Drag and drop the data pills Name, Email, Feedback Type from Typeform | New Form Response trigger in the Data Tree Output and map them to Summary, Issue Description, and other relevant input fields in JIRA.
-
-
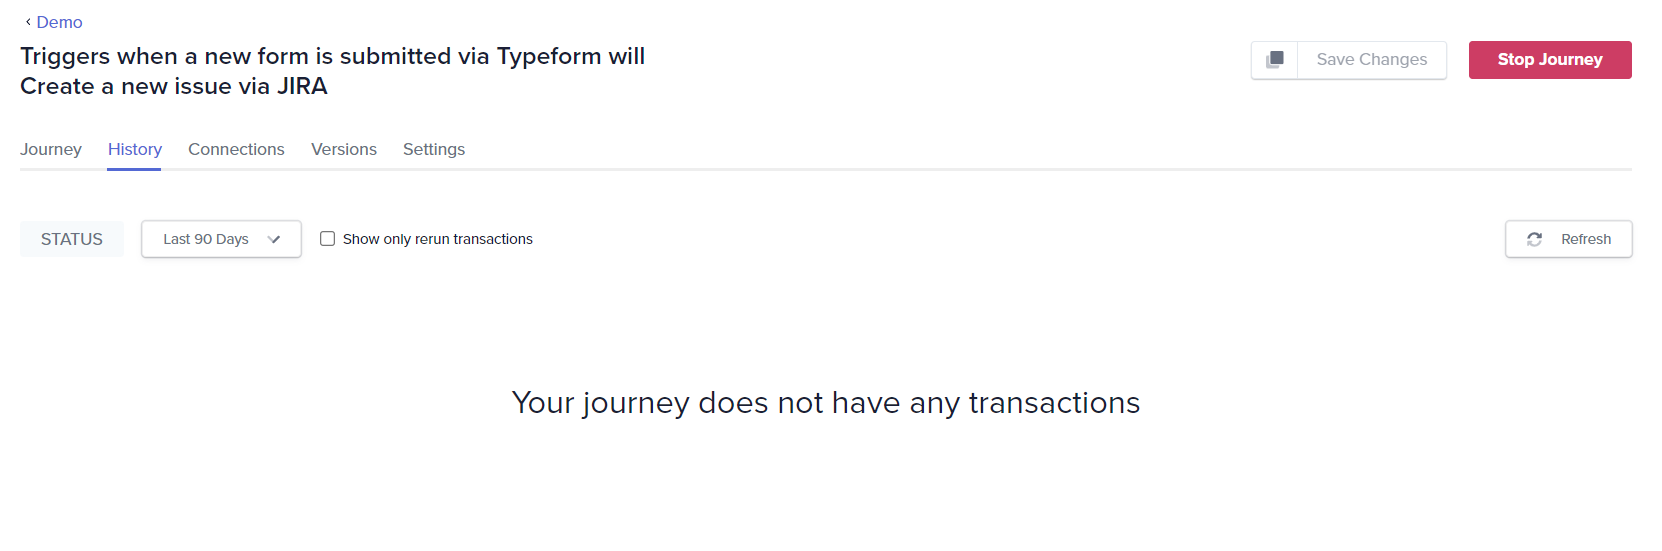
Save & Start:
- Click the Save & Start button to activate your Journey.
- You will be redirected to the History tab but will initially be empty, where you can monitor the Journey once it's triggered by new feedback.
- Testing your Journey:
- Test the setup by submitting a sample feedback through the Typeform form you have configured.
- Visit your JIRA portal to confirm that a new issue has been created automatically, reflecting the details submitted via Typeform.
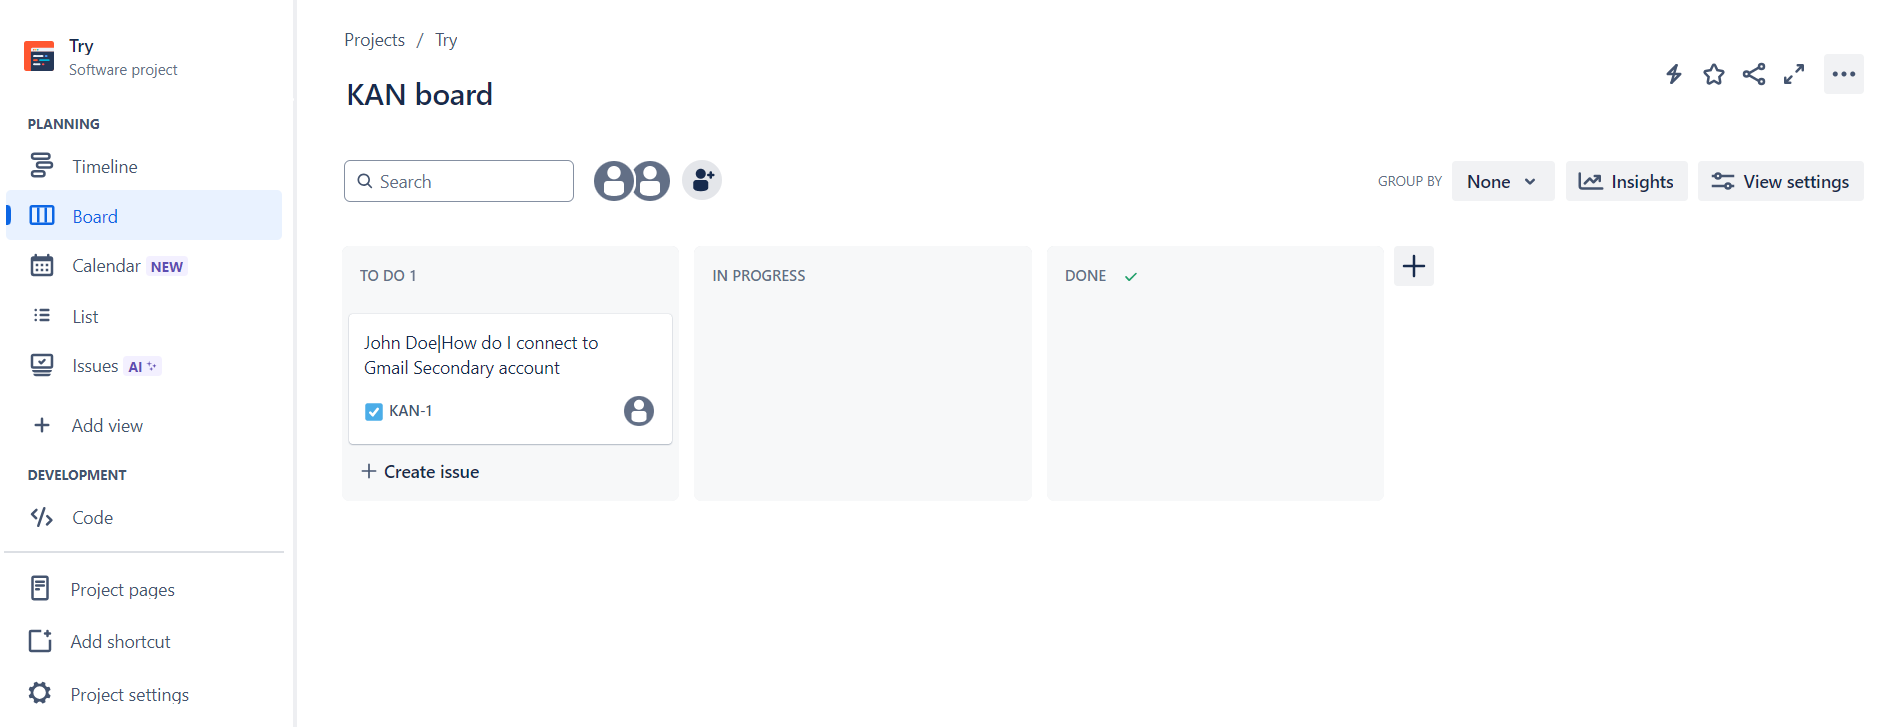
This confirms that your Journey is successfully automating the process of creating JIRA issues based on customer feedback on Typeform.
Step 4: Monitor your Journey
After submitting the feedback, go to the History tab in Quickwork to view the Journey execution. Verify that the Journey status shows Succeeded.
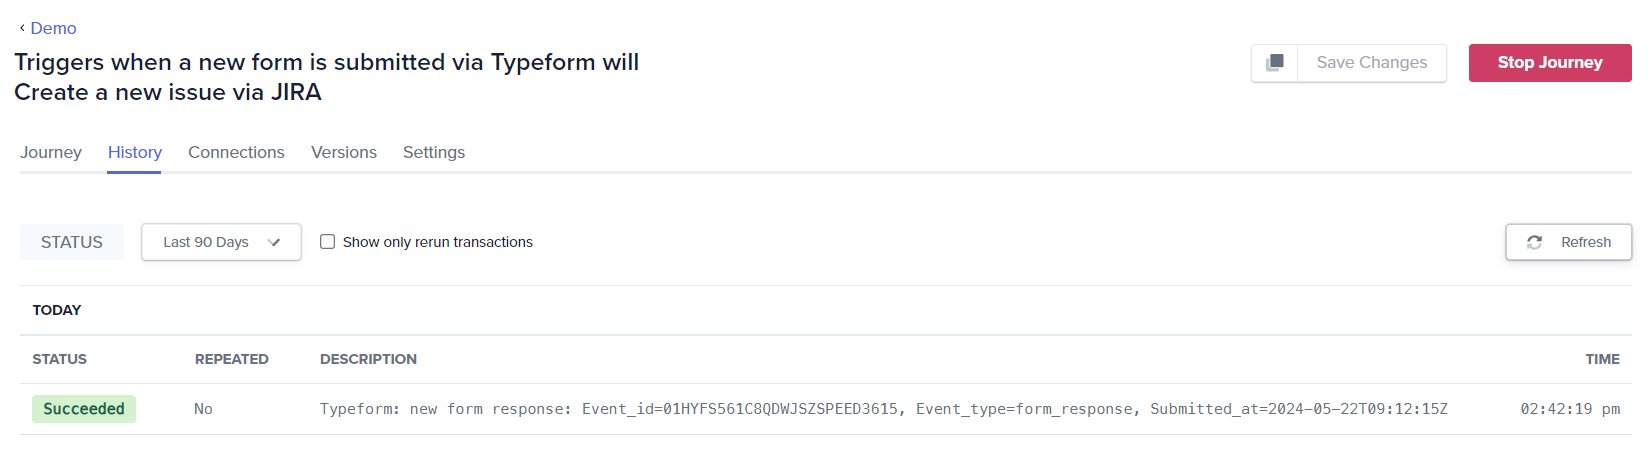
The History tab allows you to view past Journey executions, check for any errors, and analyze overall performance. If an error occurs during execution, you will receive a notification with details of the issue, enabling you to resolve it and rerun the Journey seamlessly.
📚 Additional resources
- Support center: Access detailed guides, troubleshooting tips, and best practices.
- Community: Engage with other Quickwork users and share your automation experiences.
- Submit a ticket: For additional assistance, raise a support ticket through the Help Center.